Sometimes I’m asked about maintenance on a trike, “what sort of maintenance do I need to do on my trike” type questions. The answer in many cases is, “it depends”. Not helpful.
The “depends” varies with the cycling conditions Riding in fair weather will put fewer demands on the trike than the all weather (and all road) triker, and the ‘smell the roses’ rider will put different strains on the trike than the performance rider. Your trike manufacturer will have recommendations regarding maintenance, check their web pages or hand book….
It’s safe to say that our trikes are pretty robust and normal bicycle type maintenance will suffice. I would suggest a look around the trike every month to see if anything is loose/worn/rusting or crying out for attention. Maybe incorporate it with a regular clean?
The area that is radically different to – ahem – “normal” bikes is the steering. Trike steering has much more in common with…*cough*…cars. The one thing we must do is to make sure the front wheels agree on the direction we are going to go. Commonly termed wheel alignment, and even more commonly “toe in”, all we are really doing is making sure the wheels are parallel to each other when in the straight ahead position.
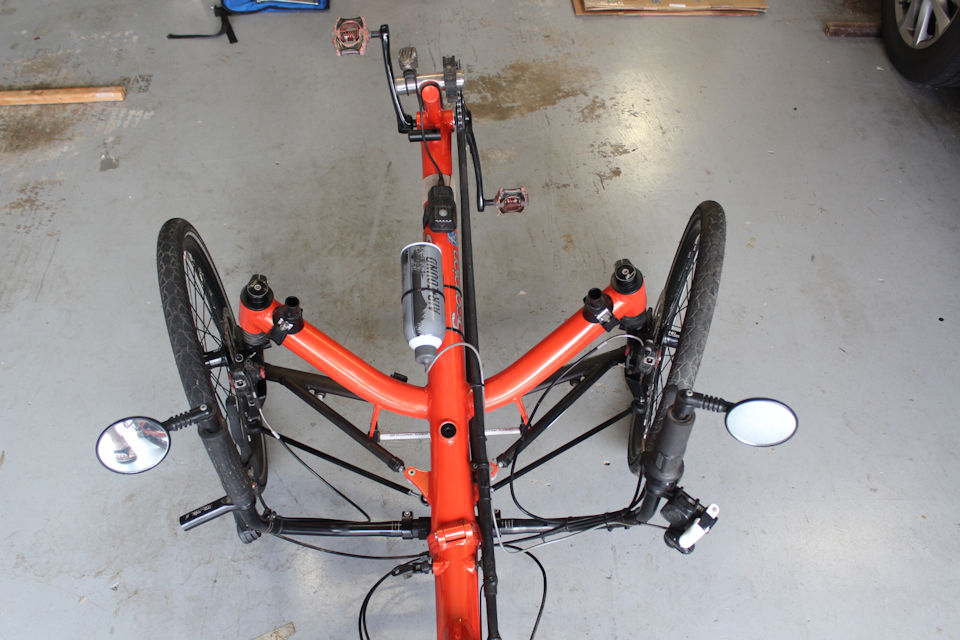
Not like this!
Poor wheel alignment will make the trike harder to pedal, wear out the tyres quickly, and make the handling of the trike unpredictable. It will not cause speed wobbles or make the trike pull to one side all the time. If a trike continually tries to turn in one direction, or has speed wobbles, there are other issues that need to be investigated!
So how to check alignment? It can be done with a tape measure but it’s difficult, not very accurate, and really needs 2 or more people. Some manufacturers suggest telescopic rods to check the distance between the wheel and frame, and between both wheels. Better but still awkward. I’ve even seen recommendations to remove the tyres to do an alignment properly….
Tools
We use a telescopic rod, a large carpenters square, spanners, and a purpose made alignment tool sized to suit the average trike’s track and setup for 20” diameter wheels. With this tool it is easy to read and set the toe-in to within ½ millimetre.
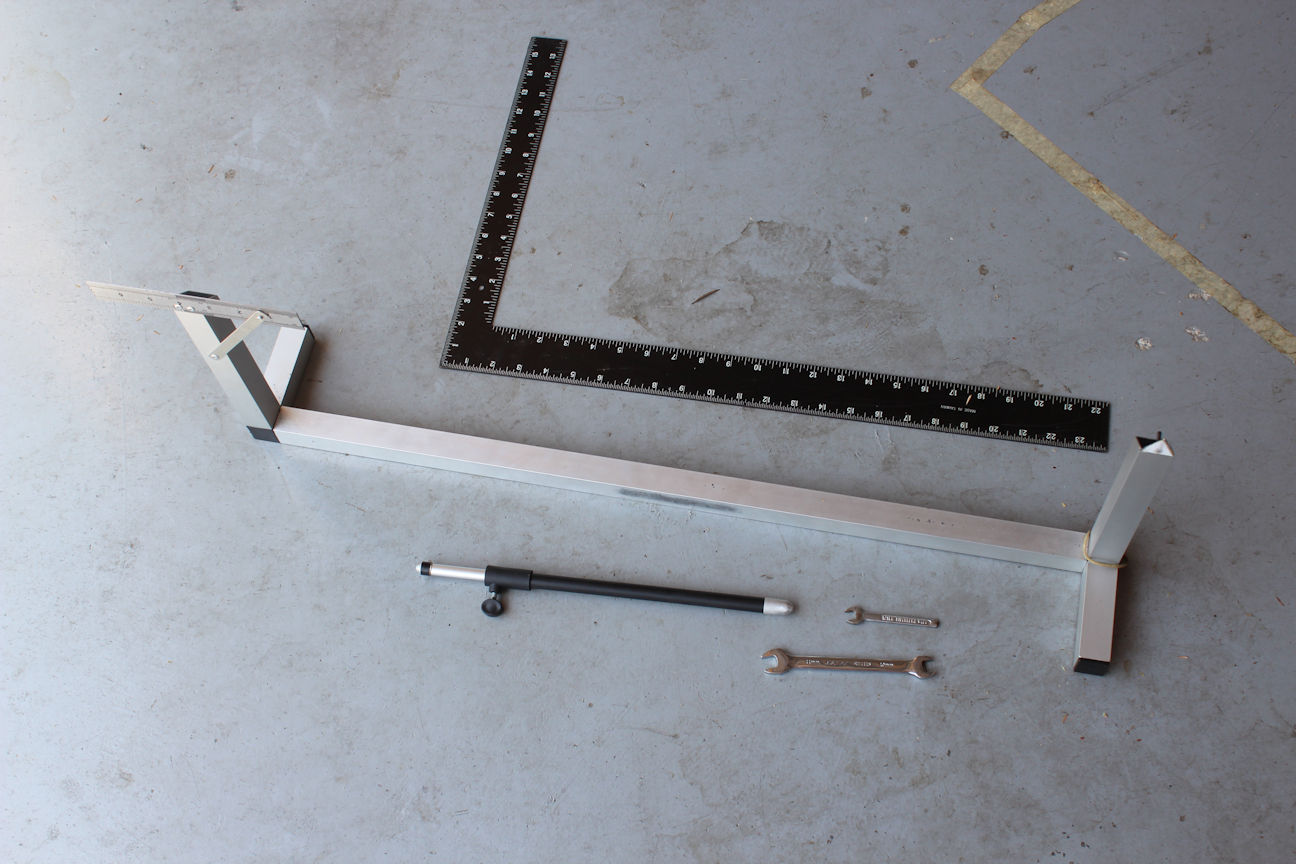
Grubby floor and old tape is optional
To the procedure (Batman)…
Note, this is written with indirect steering and no suspension in mind, but the basic process is applicable to all tadpole trikes.
Setting it up
Somehow secure the handlebars in the straight ahead position. I use webbing tie down straps, and a large carpenters square to get the handlebars as near as possible straight ahead. Pump the tyres up nice and hard merely to minimise any difference in diameter.
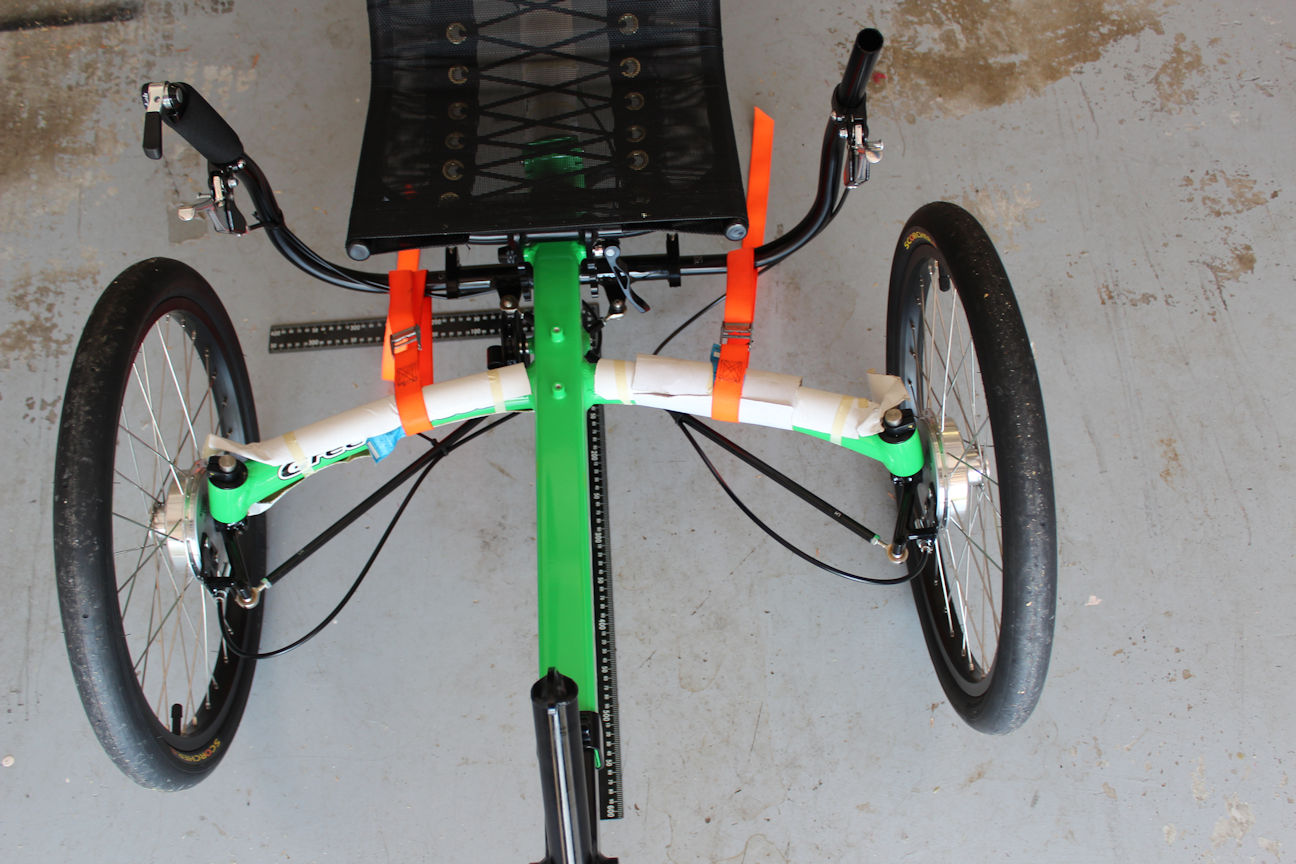
Carpenter square gives visual reference for handlebar position.
Measure from each wheel to the frame main tube and choose which one is closest to parallel to the frame. I normally choose the left wheel as then I don’t have to try and measure around chains and idlers. Using the telescopic rod, adjust the track rod until the wheel is as close as possible to parallel to the frame centre line. Tighten the adjustments then leave it alone!
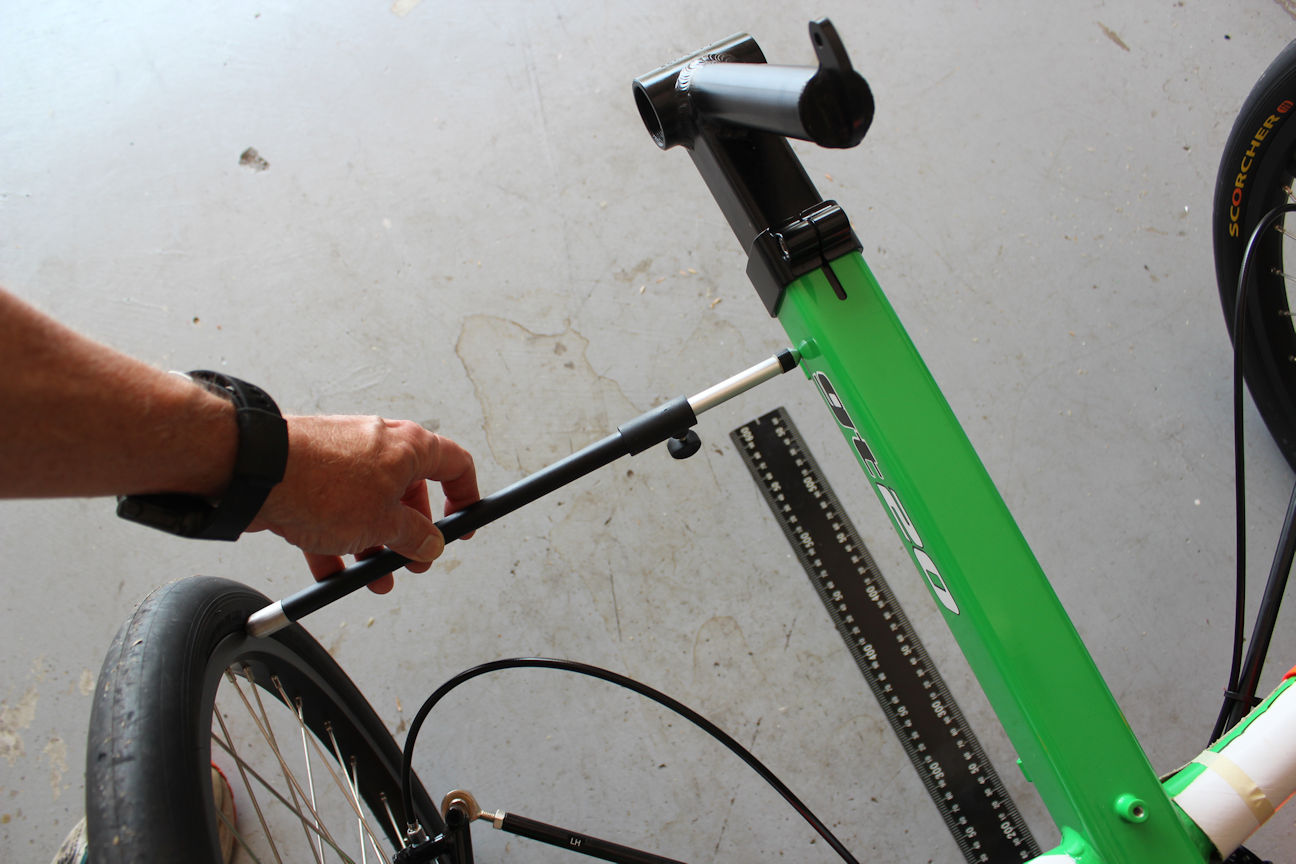
Like this…
Put a bit of masking tape on the tread of each tyre, and mark on the tyre a reference point, a cross for instance. (This doesn’t have to be on the centreline as we’ll be using the same mark for measuring both the front and rear distances.)
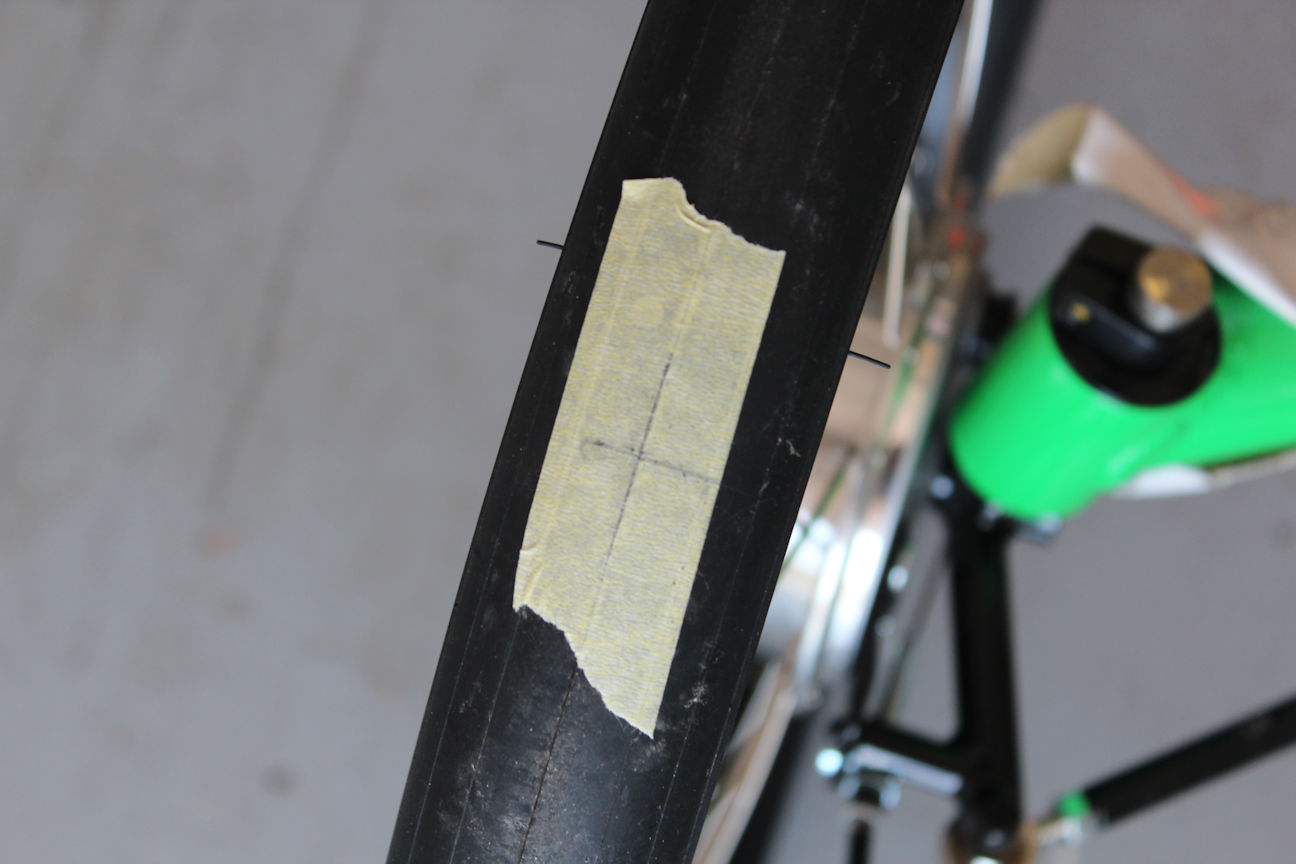
X marks the spot
Place our special tool in front of the tyre, set the taped mark of the right tyre and the fixed pointer of the tool against each other and secure the tool in position with the rubber band.
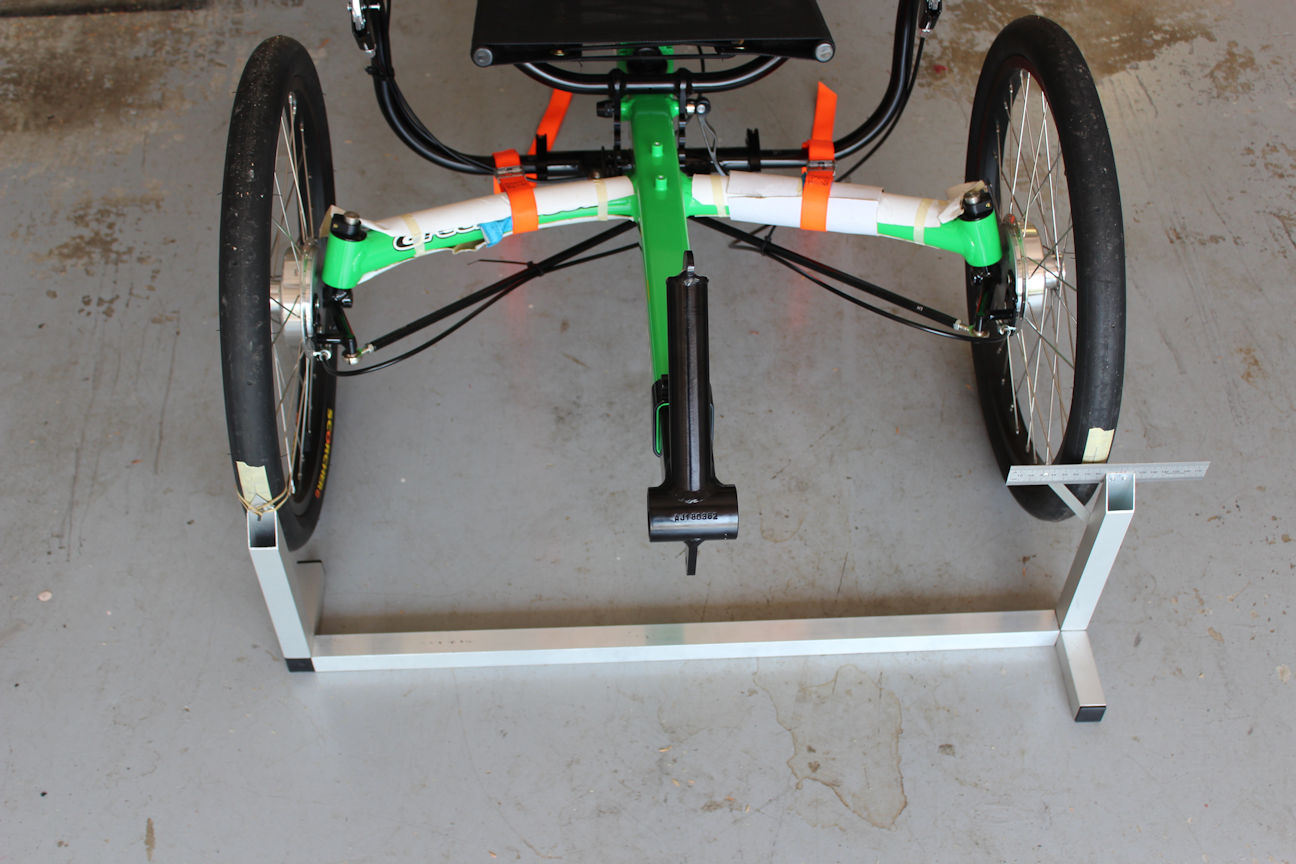
Like this!
Measure it
On the other wheel, rotate the wheel until the tape mark aligns with the ruler. Read off the measurement and record it. Let’s imagine it says 90mm. (Or in this case 74…)
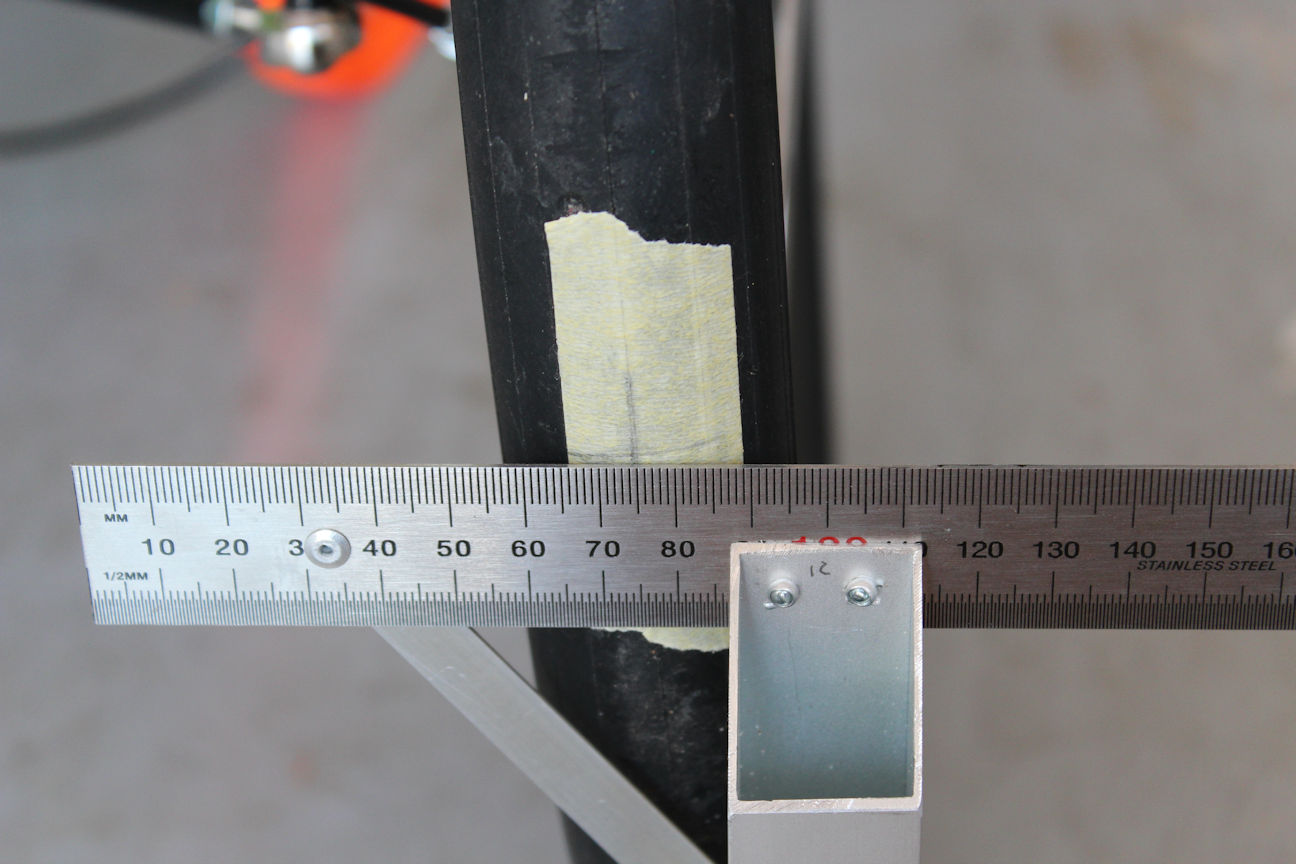
A sharper pencil would help
Take the tool off the tyre, now roll the trike forward (or back) ½ a wheel revolution. Slide the tool under the trike, and position it against the tyres again. The fixed pointer will be against the trikes left tyre this time. Line up the pointer and mark, and rubber band it in position, read off the measurement at the other wheel. Our imaginary reading for this wheel is 50mm.
Now the math! Subtract 50 from 90, divide the answer by 2, and add the result on to 50. In this case we get 70. That’s the measurement we want for the wheels to be parallel.
Here’s the really neat bit. Sit on your trike, and looking at the scale adjust the track rod (of the wheel we didn’t set straight ahead remember) and watch the measurement change. Set it at 70mm, (or maybe 70.5 to 71mm to give a touch of toe in), lock the adjustments and that’s done. (Make sure it didn’t change during the tightening up process 😊)
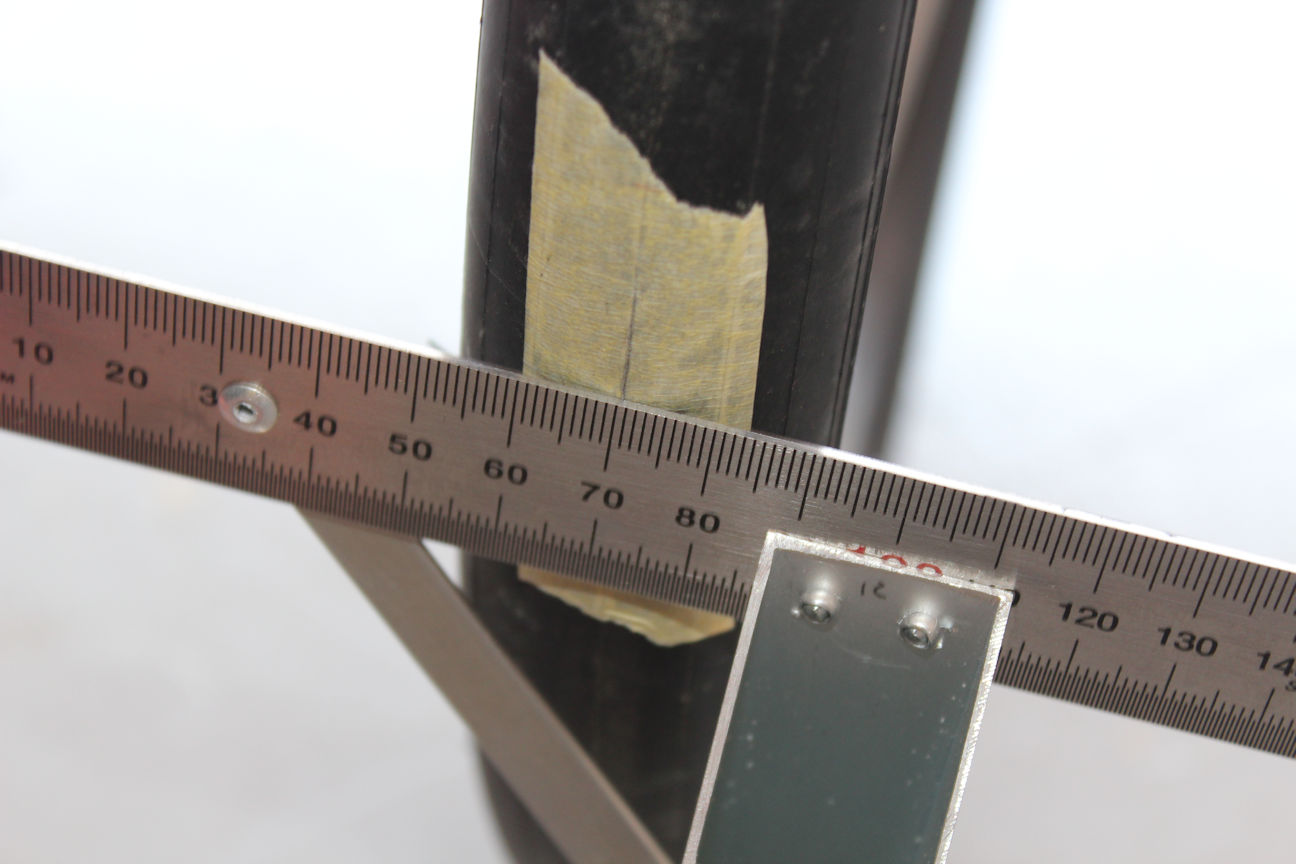
Set and done.
Test it!
Take the tool off, make sure all the nuts are tight and go for a quick ride up and down the road. Leave the tape in place for this ride, if the alignment is poor it will show scuffing and tearing, but I’ll bet it looks just fine when you get back.
How often should it be checked? Not more than once a year, unless there is an incident or something starts to feel wrong. Set it up right, from the start, and off you go!

HI i have a GREENSPEED GT26 which seems to always want to veer left. I have done a rough check of the “alignment” which appears okay. What else should i look at
Hi Steve,
A couple of simple things to start with – tyre pressures the same (left and right), brake dragging, wheel bearing, or commonly one of the brake or gear cables pulling the steering one way.
After that, the king pin bearings and handlebar pivot bearings (under the seat), if they have developed a tight spot it can bias the steering.
With both the front wheels lifted off the ground, the steering should be smooth and free over the full travel.